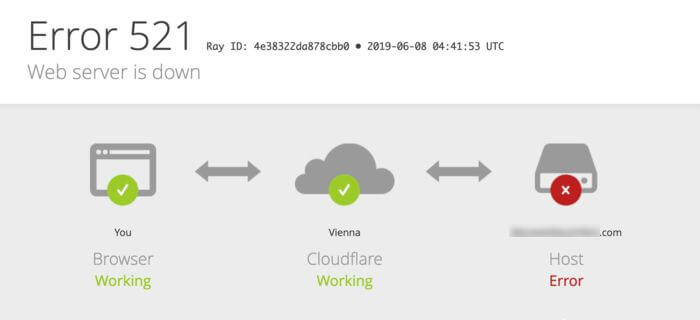
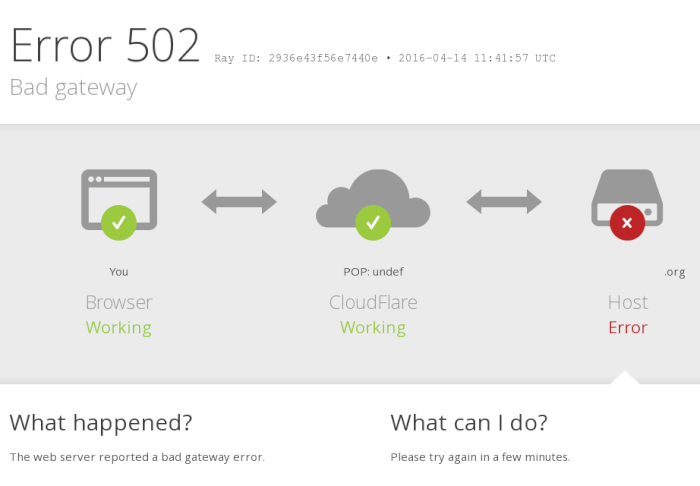
If Cloudflare can’t connect your server to your domain, you’ll see one of the dreaded 1xxx errors in your web browser.
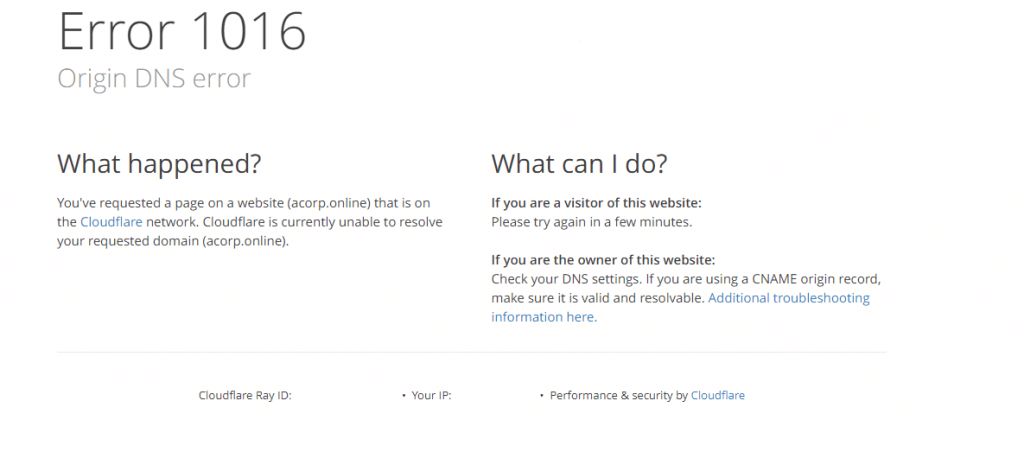
You might see the Cloudflare Error 1016: Origin DNS Error message:

What is Cloudflare Error 1016: Origin DNS Error?
“Cloudflare Error 1016: Origin DNS Error” means Cloudflare is not able to connect to your origin server as a result of a DNS issue. In other words, Cloudflare error 1016 indicates that the Cloudflare Anycast address cannot find the DNS record that should be specified in the DNS records section of your Cloudflare control panel.
Even if a Cloudflare A record or CNAME is resolving correctly an external domain that should be included in your control panel cannot be found.
Your IP does not belong to an Anycast route—and Cloudflare can’t find it.
Don’t have time for details? Click here to go straight to the solutions.
Why Can’t Cloudflare Get Your DNS Records Automatically?
Yes, it can automatically grab your DNS records. Yet, you must still plug in your IP address or domain name into your Cloudflare dashboard.
This step helps your server swiftly manage pages that aren’t stored in cache. Skipping this might lead to glitches, making your website falter if your IP or DNS details can’t be found.
The Cloudflare DNS resolver also acts as another firewall to protect your site.
If the server can’t verify the origin IP address or origin host names, it can’t confirm that the connection is valid and secure.
This throws the 1016 error code to warn you that your DNS records are out of whack.
How To Fix Cloudflare Error 1016
- Make Sure Your IP Address And Domain Will Resolve
- Add Your Valid A or CNAME Record To Cloudflare
- Use Load Balancer To Create Fallback Pools
1. Make Sure Your IP Address And Domain Will Resolve
To resolve error 1016, check the DNS resolution of your host site IP address to determine if it can connect at all.

Verify that every A record for your website points to a valid IP address.
You can make changes yourself or contact Cloudflare support to create new entries.
For a CNAME record to point to an external domain instead of using an IP address, ensure that the target domain gets a DNS response.
It’s just a few steps using command-line tools:
dig subdomain.example.com
If the lookup fails, you can add the +trace option to get a detailed output with more information explaining the DNS error:
dig +trace subdomain.example.com
If you’ve confirmed that the domain is online and configured properly, you can check whether public resolvers are receiving a response from DNS providers by adding the option @1.1.1.1:
dig @1.1.1.1 subdomain.example.com
You can also use the Cloudflare DNS lookup tool to help confirm that the CNAME can resolve.
2. Add Your Valid A or CNAME Record To Cloudflare
Once you’re sure the site and your Cloudflare user account are properly configured, all you should have to do is double check your CNAME record log and add the relevant records if they’re missing.

If you’ve added the record using Cloudflare DNS and you’re seeing an error response code like NOERROR, NXDOMAIN, or SERVFAIL, this tells you the cause lies somewhere with your host or DNS provider and isn’t related to your Cloudflare DNS configuration.
3. Use Load Balancer To Create Fallback Pools
It’s still possible for your DNS resolution to fail even if everything appears to be configured properly.
The network clusters of hosting account providers can be a real headache.
We see it all the time—the server cluster of one service provider usually breaks down the next, causing performance issues for website domains.
It’s crucial to keep in mind the physical distance between servers matters.
A server can be physically located where the visitor request comes from, or it can be geographically far away.
If the server has an incorrect configuration or is undergoing heavier-than-normal traffic loads, the occasional request will get blocked or outright missed.
The Cloudflare Load Balancer tries to steer clear of overloaded servers. Yet, sometimes your DNS settings might still send traffic to a busy server.
Setting up a fallback pool ensures you have a backup if your main server pools are down. If those are all out, the system will switch to using your fallback pool’s IP as a plan B.
The backup configuration will be applied as the first response if your primary pool cannot be reached.

